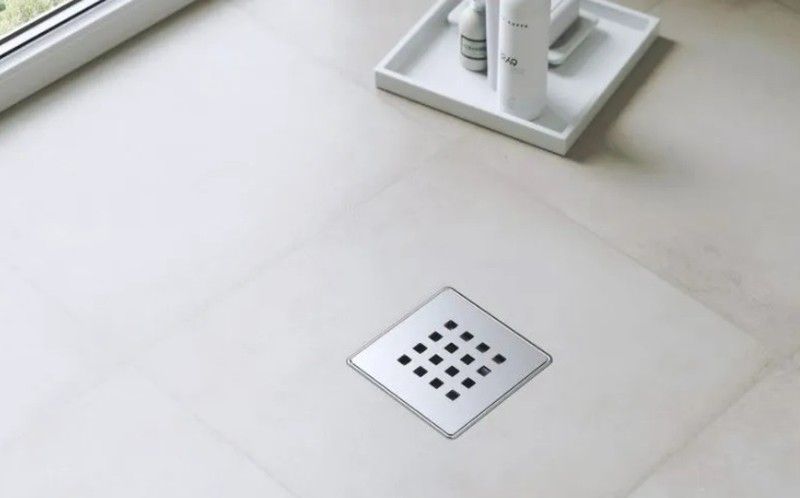
A beautiful mix of textures and colors provides natural slate in a shower tray. It is a waterproof material that is a favorite of many for these works. They are also adaptable, in terms of size, to the dimensions of the bathroom.
These shower trays are made with resin and mineral filler, generally massively tinted and with a gel coat finish, which is a polyester material that serves as protection and adds durability and greater resistance.
The gel coat applied in the final stage of preparation provides an unmatched antibacterial property, which makes this dish one of the favorites in many homes.
Gresite is a tile of small dimensions, generally not exceeding 2 cm per side, and which is composed of superimposed layers and different manufacturing processes. A great advantage, in the functional part, above all, since thanks to its flexibility it is easily manipulated and can be adapted to any space.
There is a tendency to believe that built-in shower trays must be carried out by specialized personnel. Although this is the best or most appropriate, it is possible for anyone with a bit of expertise and a taste for construction to create their own shower project.
Currently, bathrooms with shower trays are the trend, above bathtubs, since they provide greater safety and ease of use. Perhaps the most widely used material for its versatility is fiberglass, however most experts recommend more durable materials.
It is time for you to place a shower tray in your home and delight in the elegance that it gains from this element that has become a current trend. Here you will realize how easy it is to do it and the materials you need.
Materials to make a brick shower tray
• Cement
• Water
• A mortar
• Tiles and tiles
Tools to make a built-in shower tray
• A ceramic tile cutter
• A mace
• A cube of any material
• A piece of chalk or a pencil
• Flat and level
How to make a brick shower tray step by step
1. Draw with chalk or pencil the shape of a shower tray, directly on the floor. This will be the pattern for placing the mortar shapes.
2. The traditional way of making a built-in shower tray is by mixing and crushing the mortar (binder) with water, in order to make the base.
3. Place the mortar on the drawn pattern and allow it to dry. The number of layers to place is your decision, just let it dry for at least two days.
4. The tiles will be placed one by one on the floor. Fiberglass can make the process much easier and faster.
5. Use the mallet to hit each tile, once you have placed it, in such a way that they are fixed much better.
6. You will use the cutting machine, above all, when you need to place incomplete tiles or in the corners.
7. The tiles will be used to tile the walls around the shower tray. You will use for fixing the cement mixed with water and having let it settle for a while.
8. With the help of the notched trowel, place the glue cement on the wall.
9. The tiles are placed one by one forming a straight line. To keep the line straight, use the level.
10. Again, if you only need a piece of tile when you get to the end of the wall, cut it with the cutter.
Here we show you a video from our provider Estil Guru, in which you will see how to waterproof the shower area to install a built-in shower tray with full guarantee.





Opinions of our clients
Receive our news